Free Diagnostic With Repair
When summer arrives in San Jose, knowing how to install an AC can make your home or business much more comfortable. Whether you are adding a new system or replacing an old one, correct installation helps your air conditioner run efficiently and last longer.
This AC installation guide explains everything you need to know. You will learn about system types, site preparation, the AC installation process, and the most important air conditioner installation steps. We will also share useful window AC installation tips for small spaces.
1. Understanding the Basics of AC Installation
Before beginning any installation, you should know which type of air conditioner suits your property. Each type requires a different process and setup.
Types of AC Systems
- Central AC Systems: Designed to cool entire homes or offices using ductwork and an outdoor condenser.
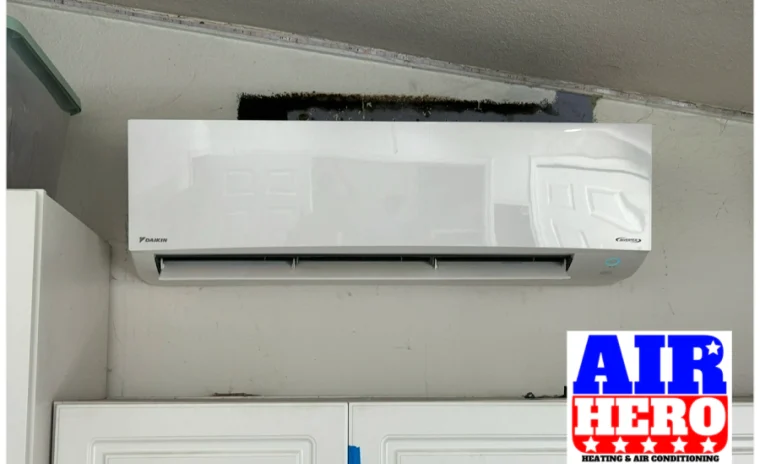
- Ductless Mini Split Systems: Ideal for homes or buildings without ducts, offering zone-by-zone temperature control.
- Window Air Conditioners: A simple and affordable option for individual rooms or small office spaces.
- Heat Pumps: A single system that provides both heating and cooling, making it energy efficient year-round.
You can learn more about installation options on our AC Installation Services page.
2. Planning and Assessing the Site
Before installing any AC unit, planning is key. The system must be properly sized and positioned for maximum efficiency.
A. Sizing the System
Choosing the right size air conditioner is crucial. If it is too small, it will run constantly without cooling the space. If it is too large, it will cycle on and off too often, wasting energy. Correct sizing depends on:
- Total square footage of your space
- Ceiling height
- Number of windows and doors
- Sun exposure and insulation quality
A professional HVAC team can calculate the correct size for your home or light commercial space.
B. Selecting the Right Location
- The outdoor condenser should sit on a level, shaded surface with good airflow.
- Indoor units should be positioned to allow even cooling throughout the room.
- For window air conditioner installation, choose a sturdy window that can handle the unit’s weight.
If ducts are involved, make sure they are clean and properly sealed. You can explore our Duct Installation and Repair service to learn how ductwork affects cooling efficiency.
3. Tools and Materials You Will Need
Before starting the AC installation process, prepare your tools and materials:
- Power drill and screwdrivers
- Mounting brackets
- Level and measuring tape
- Insulated copper tubing
- Electrical wire and connectors
- PVC drain pipe
- Safety gloves and goggles
Professional installers use additional tools such as refrigerant gauges and vacuum pumps to ensure correct operation.
4. Air Conditioner Installation Steps
The following air conditioner installation steps cover both central systems and smaller units. Always follow safety instructions and local electrical codes.
A. Step 1: Installing the Outdoor Unit
For split or central systems:
- Pick a flat, stable location outdoors.
- Mount the condenser on a concrete pad or steel frame.
- Keep at least two feet of space around the unit for airflow.
- Connect refrigerant lines, electrical wiring, and the drain hose.
Tip: Use insulated tubing on refrigerant lines to prevent energy loss.
B. Step 2: Installing the Indoor Unit
For ductless mini split systems:
- Secure the indoor unit to a wall bracket.
- Drill a small hole through the wall for the refrigerant and drain lines.
- Connect all lines to the outdoor condenser carefully.
For central air systems:
- Install the air handler or furnace in the utility area.
- Connect ductwork for air distribution.
- Seal all duct joints tightly.
You can see more about this type of setup on our Ductless Mini Splits service page.
C. Step 3: Electrical Connections
Electrical wiring must be done carefully:
- Turn off power at the breaker before wiring.
- Follow the manufacturer’s wiring diagram.
- Use a voltage tester to check each connection.
If you are not experienced with electrical work, it is safest to call a qualified technician.
D. Step 4: Setting Up the Refrigerant
Refrigerant is the cooling agent inside your AC system. Handling it requires certification. Incorrect charging can damage the compressor or reduce cooling capacity. Only licensed professionals should handle refrigerant charging or replacement.
E. Step 5: Testing the System
Once everything is connected:
- Turn on the system and let it run for 15 to 20 minutes.
- Listen for any unusual sounds.
- Check the temperature from vents or indoor units.
- Confirm steady airflow and consistent cooling.
Professional technicians also check refrigerant pressure and electrical readings to verify that the system runs correctly.
5. Window Air Conditioner Installation Guide
Installing a window unit is simpler but still requires care. Follow this window air conditioner installation guide for safe and efficient setup.
Window AC Installation Tips
- Use a window that opens vertically and locks firmly.
- Attach mounting brackets to support the weight.
- With help, lift the unit and slide it into place.
- Lower the window sash securely onto the top of the unit.
- Seal open spaces with foam insulation or weather stripping.
- Plug the unit into a grounded outlet.
Tip: Tilt the AC slightly downward on the outside to allow proper drainage.
For year-round performance, learn more about seasonal check-ups on our Preventive Maintenance page.
6. Common Mistakes During Installation
Avoiding common errors can save you money and frustration later:
- Skipping proper system sizing
- Overlooking duct leaks or poor connections
- Using incorrect electrical wiring
- Forgetting to charge refrigerant correctly
- Ignoring drainage requirements
- Neglecting to seal gaps and holes
These issues can shorten the system’s lifespan and increase utility bills. Always double-check your work or hire a certified HVAC technician to confirm correct setup.
7. How Long Does It Take to Install an AC?
The time required depends on the type of system:
- Window AC: About 1 to 2 hours
- Ductless Mini Split: 4 to 8 hours
- Central AC (full installation): 1 to 3 days
Light commercial projects such as rooftop systems can take longer because of added electrical and ventilation work. For more on business installations, visit our Light Commercial HVAC page and Commercial Maintenance page.
8. What Affects AC Installation Costs
Several factors determine the cost:
- Type of system and brand
- Home or office size
- Duct condition
- Electrical setup
- Labor and warranty coverage
At Air Hero Heating and Air Conditioning INC, we keep prices competitive. We offer Free Estimates, a $49 Diagnostic Fee, and a 3-Year Labor Warranty to ensure customers receive dependable service.
9. Maintenance After Installation
Once you have completed your AC installation, regular care keeps it efficient:
- Clean or replace filters every one to three months.
- Keep outdoor units free from debris.
- Check thermostat batteries often.
- Schedule maintenance before summer and winter.
Visit our AC Service and Repairs page to see how we help homeowners and businesses keep their systems in great shape.
10. Why Professional Installation Is Important
Knowing how to install an AC helps you understand the process, but professional installation ensures every detail is done safely and correctly. Certified HVAC technicians follow safety codes, handle refrigerants properly, and verify electrical connections. This ensures maximum efficiency, safety, and long-term reliability.
Conclusion
Now that you know how to install an AC, you can see that correct setup involves much more than just mounting a unit. This AC installation guide has outlined the full air conditioner installation steps and shared practical window AC installation tips for both residential and light commercial needs. When every step is done right, you get steady cooling, energy savings, and a longer-lasting system.
Why Choose Air Hero Heating and Air Conditioning INC
Since 2009, Air Hero Heating and Air Conditioning INC has proudly served homes and businesses throughout San Jose, CA, and the Greater Bay Area. With over 20 years of experience and five generations in the trade, we focus on trust, education, and reliability. We offer Free Estimates, a $49 Diagnostic Fee, and a 3-Year Labor Warranty on all work. For dependable HVAC services, including AC installation, repair, and maintenance, we are the team you can count on.